EraSSL Tool for Automatic Certificate Issuance
I. Purchase a Certificate from the ERANET Website
**Click to go to the certificate purchase page Click to Purchase (Taking PositiveSSL certificate as an example). **
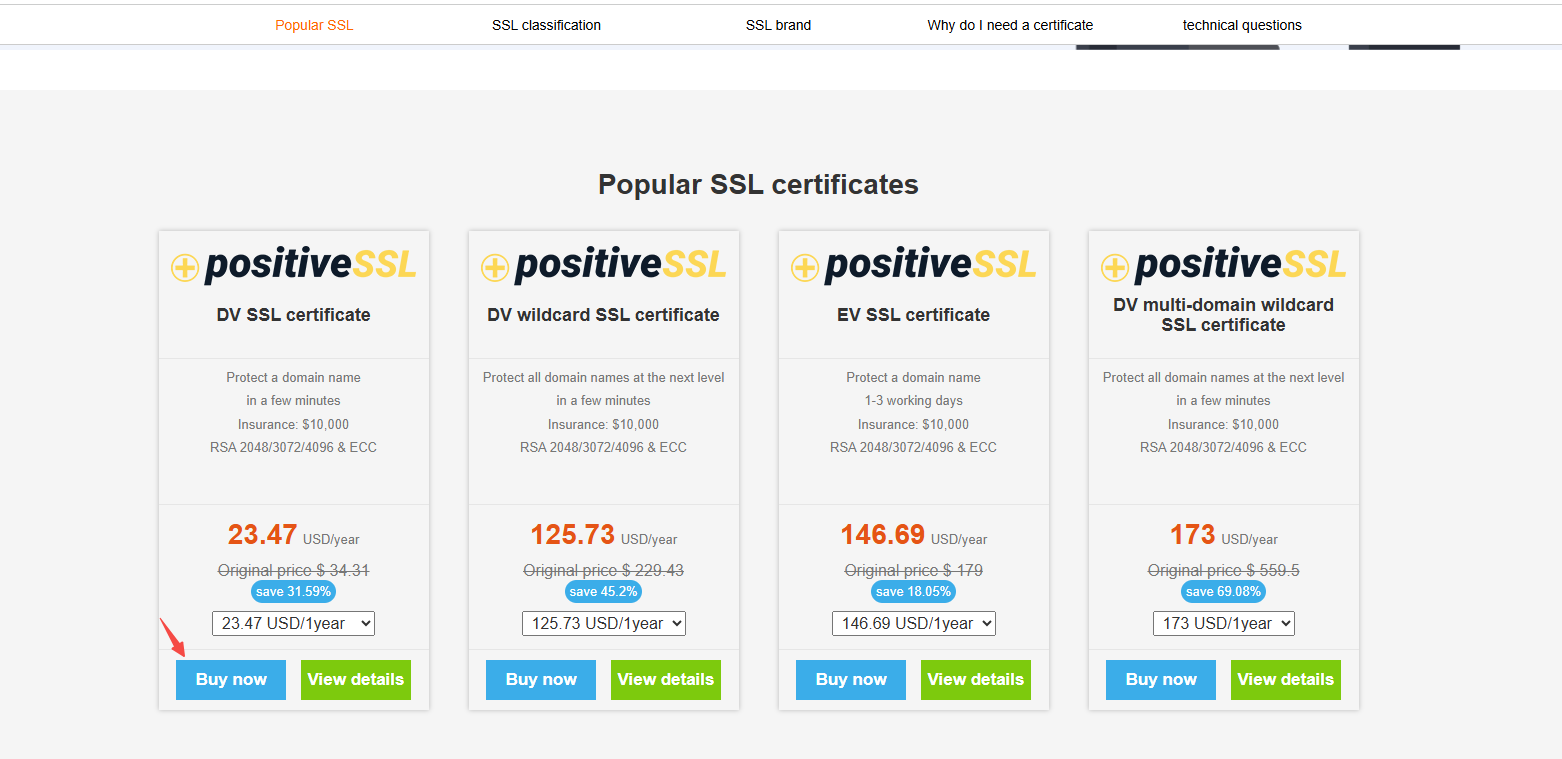
After successful purchase, you will be redirected to Control Center -> Product Management -> SSL Certificate
II. Supplementing Basic Certificate Information
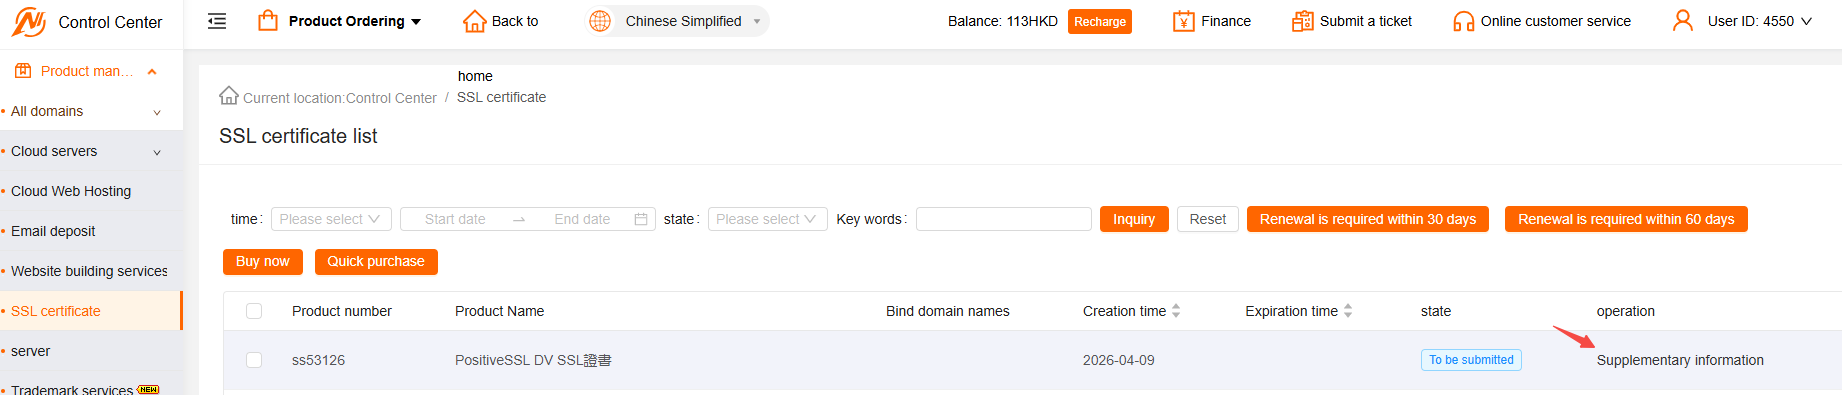 Click to supplement information and fill in the details
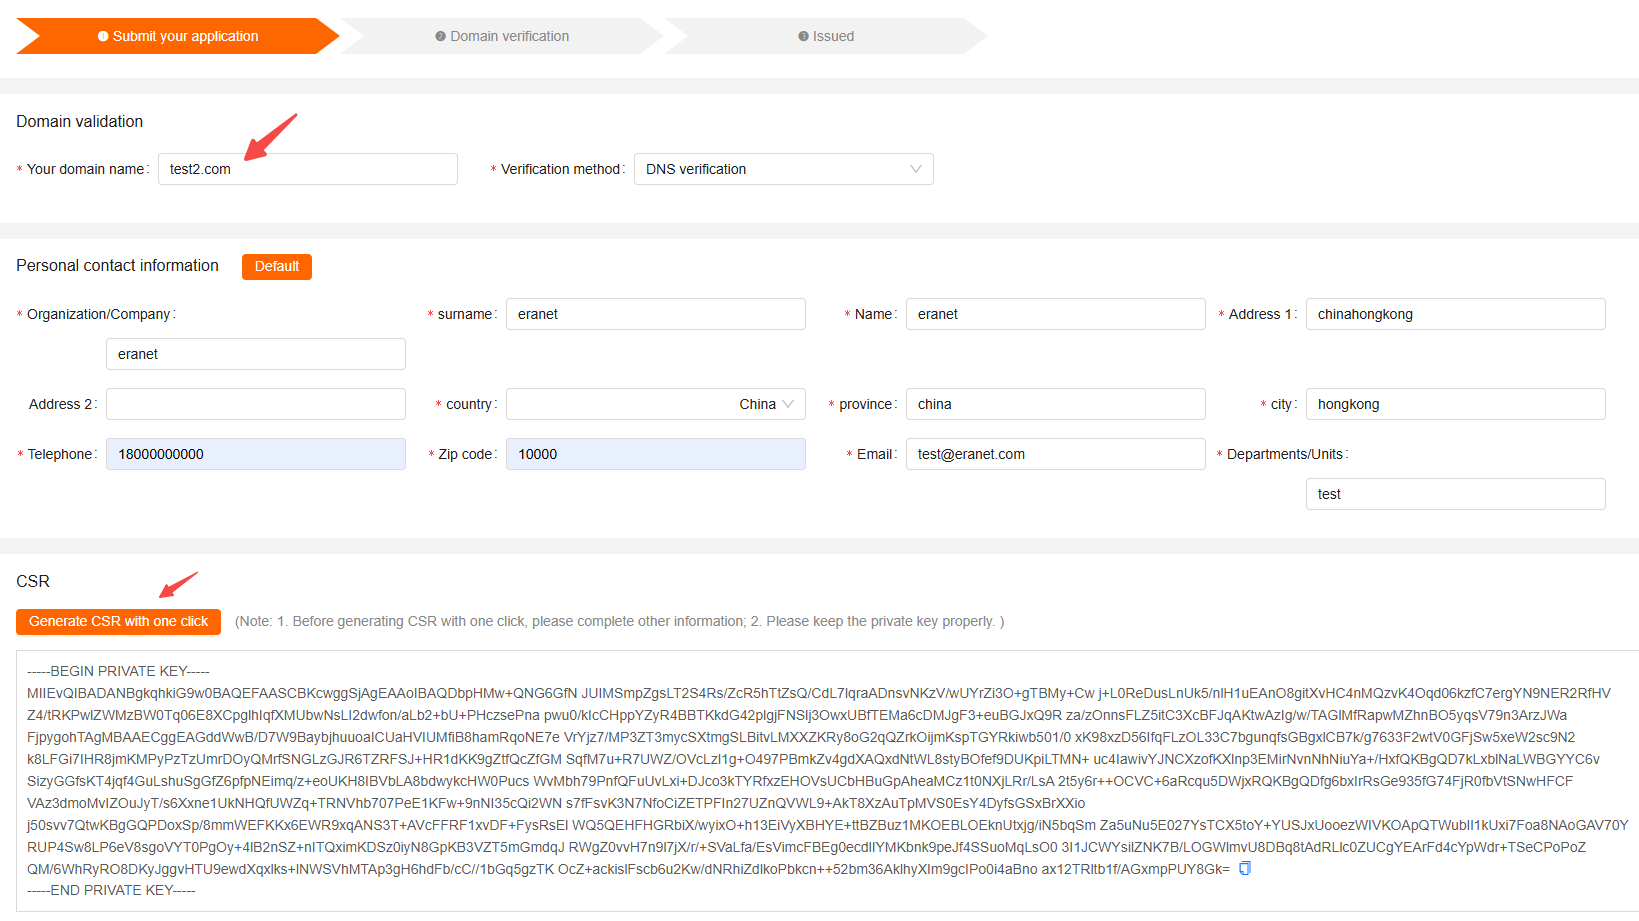 Fill in the basic certificate information according to the prompts, including the domain name and verification method. This tutorial uses DNS verification as an example; file verification is optional. Then click Submit
- Note: The domain name for the certificate application must be entered correctly
III. Copy the Certificate Token
 Enter the user login password to view the certificate issuance token and copy it. (The erassl tool will subsequently bind the certificate using this token)
IV. Downloading the erassl tool
For Linux, click this link button to download or download via https://www.tnet.hk/download/erassl.zip. For Windows, download via this button download or download via https://www.tnet.hk/download/erassl-win.zip
Linux Installation Steps
wget http://www.eranet.com/download/erassl.zip
unzip erassl.zip
chmod +x erassl
cp erassl /usr/bin/
Windows Installation Steps
Download and extract the file, then run it in cmd. See the image:

Alternatively, add erassl.exe to the system path.
V. Adding a Certificate Token with EraSSL
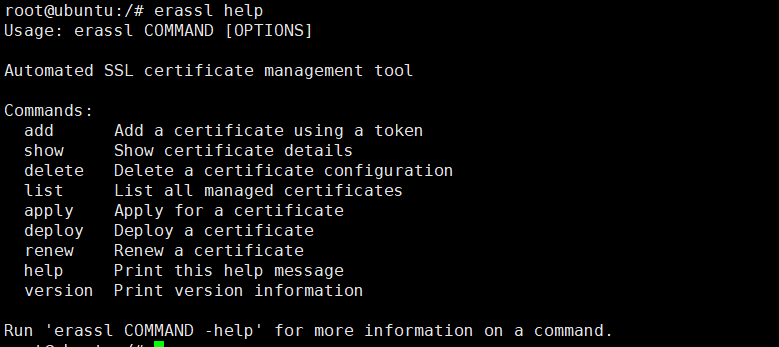 Use the
 erassl add command to add a certificate token. The token is the one copied from Control Center -> Product Management -> Certificate Management in the previous step.
The erassl add command adds a certificate token, as shown in the image.

Command example:
root@ubuntu:/soft/test3# erassl add
Please enter the certificate token:
3625:jdwPpG67tL3cDpk7wkUrD415goCkMCB1
The erassl list command displays certificate information. This certificate has been added to the erassl tool. 1 represents the certificate’s ID.
VI. Configuring Automatic Certificate Issuance Currently supported: AWS Route 53, CloudNS DNS, Cloudflare DNS, Huawei Cloud DNS, ERANET DNS, File Verification, Volcano Engine DNS, Baidu Cloud DNS, Tencent Cloud DNS, Alibaba Cloud, etc.
- This document uses ERANET and Alibaba Cloud DNS as examples (Note: the DNS provider actually pointed to by the domain’s DNS server shall prevail).
ERANET DNS Domain Certificate Issuance
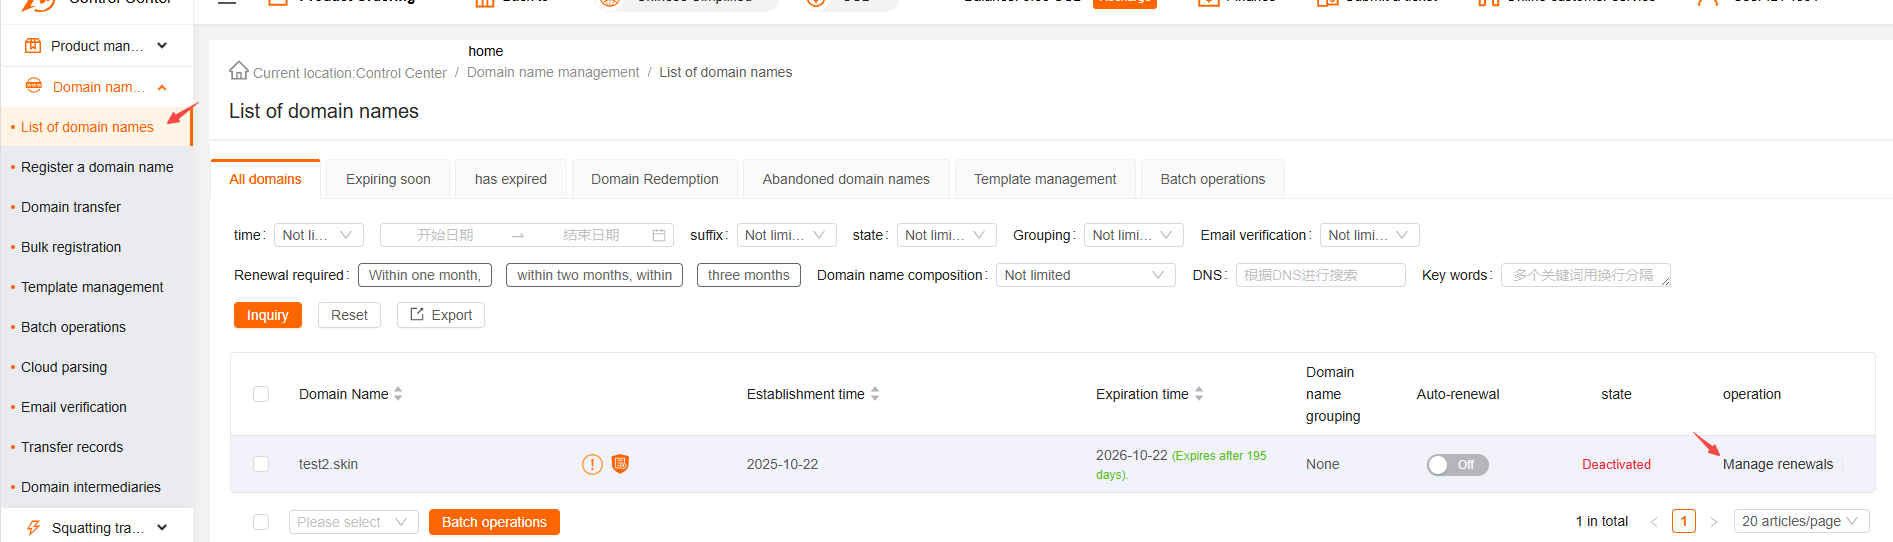
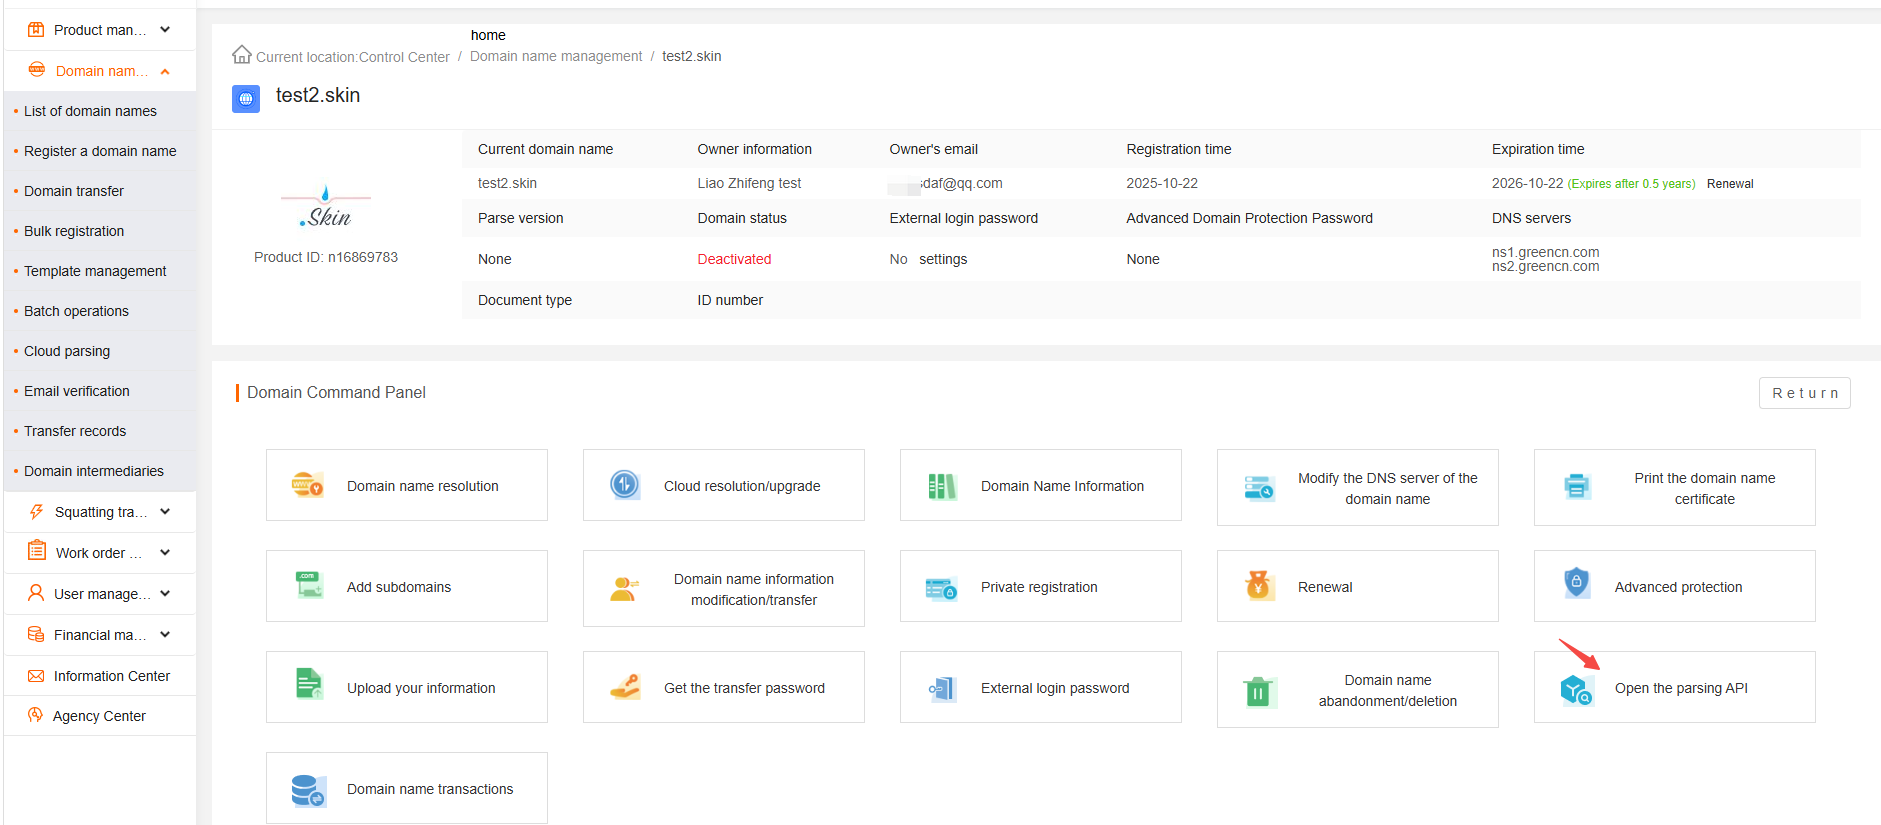
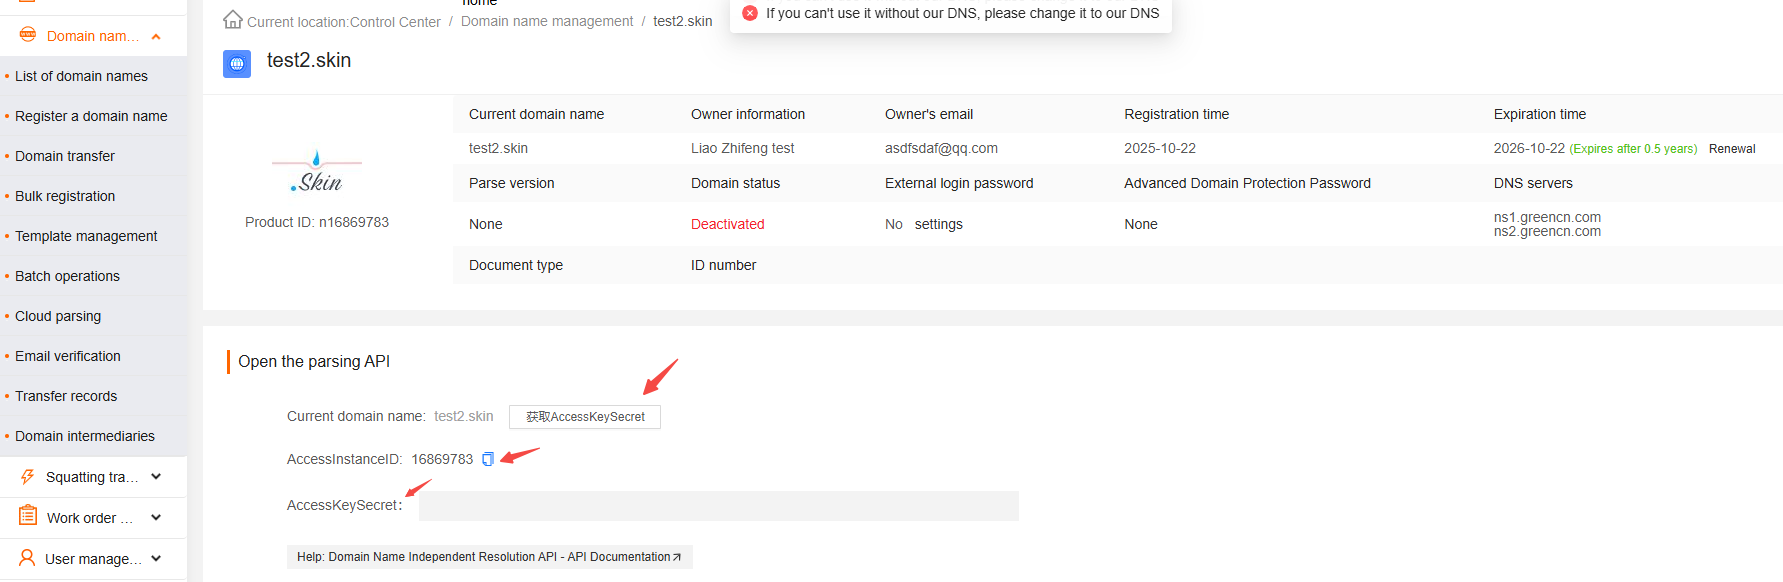
- Log in to the ERANET official website -> Control Center -> Domain Management -> Domain List -> Enable Domain API Password -> and copy the AccessInstanceID and AccessKeySecret.
- Apply for a eraSSL certificate (the last number is the certificate number added to the eraSSL tool, which can be viewed using
erassl list)
erassl apply 1
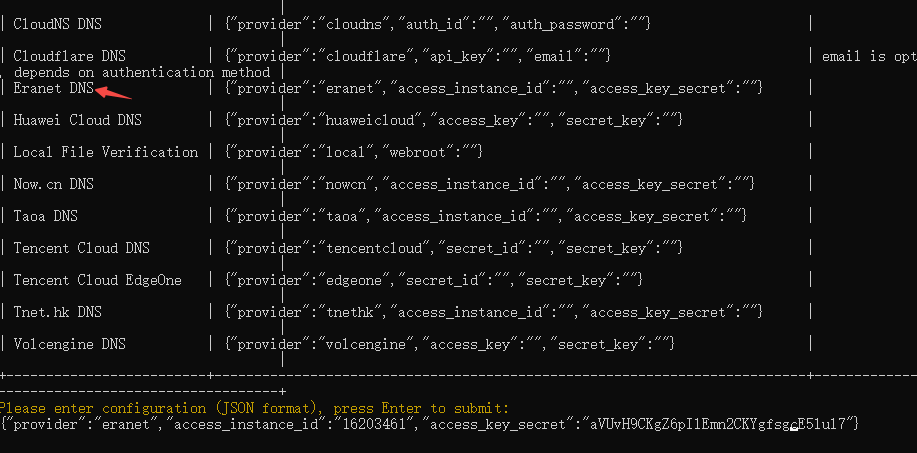
- Copy the example from the command line and enter the API key you found in the control center.
auth_user_idis the ERANET user ID, which can be viewed in the control center.
{"provider":"eranet","access_instance_id":"16203461","access_key_secret":"aVUvH9CKgZ6pIlEmn2CKYgfsgcE5lul7"}
As shown in the image below:
Wait a few minutes for the certificate to be automatically issued. A message will appear indicating successful certificate application. If you need to change the domain name resolution service provider for this certificate later, you can use erassl apply 1 -reset to reset it.
Alibaba Cloud DNS Domain Name Certificate Issuance
-
Create an AccessKey in Alibaba Cloud. This AccessKey can only authorize domain-related permissions. Refer to https://www.alibabacloud.com/help/zh/ram/user-guide/create-an-accesskey-pair.
-
Copy
access_key_idandaccess_key_secretand enter them intoerassl. Refer to the example inerassl apply.
Example of Alibaba Cloud DNS certificate issuance command:
root@ubuntu:/soft/test3# erassl deploy 1
Please enter the certificate token:
{"provider":"aliyun","access_key_id":"LTAI5t6K7deEjsdfztzhsHi","access_key_secret":"ko78kqqdsg1iNXJKHye18nVcwb17hL"}